


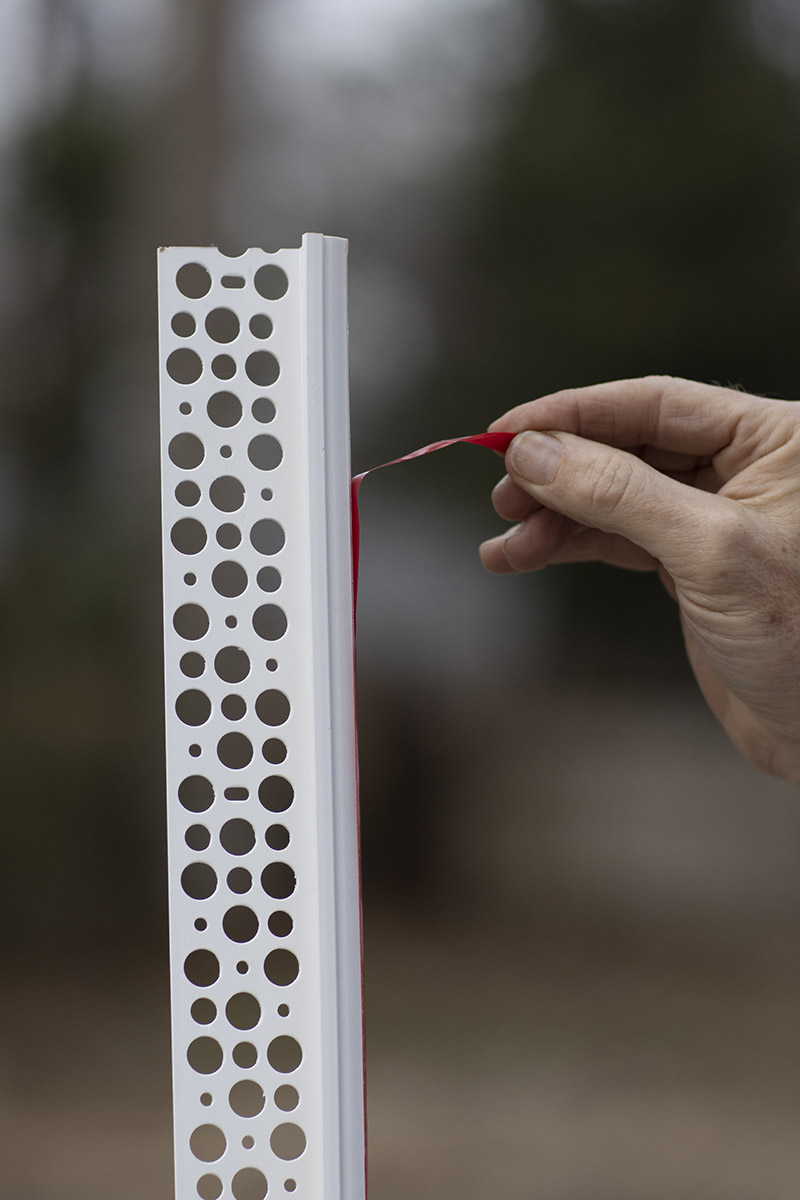
SPEED BEAD is a self adhering casing bead with a built-in backer rod that creates a weatherproof seal which eliminates the need for caulk.
SPEED BEAD features the latest in dual extrusion technology. This versatile casing bead trims out fenestration and other cladding breaks in less than half the time of traditional methods.
The Integrated expansion flange provides an even, self adhesive gasket that adheres to the window or door creating a seal that does not need to be caulked, so you get a perfect seal every time.


TESTIMONIALS
SPEED BEAD – Contractor Testimonial & Product Features
SPEED BEAD Contractor Window & Door Application
LABOR COST SAVINGS
| Product | Install Time | Labor Cost Per Window (16 Lineal Ft) | Labor Cost Per Ft. | Sealant Joint Depth | Sealant Joint Width | Sealant Cost Per Window | Sealant Cost Per Ft. | Sealant Yield (10.3.oz) | Labor & Sealant Cost Per Window | % Savings | Saving Over 15 Windows* |
|---|---|---|---|---|---|---|---|---|---|---|---|
| Speed Bead® | 10 | $8.33 | $0.64 | N/A | N/A | N/A | N/A | N/A | $8.33 | 71% | -$309.45 |
| Casing+BR | 25 | $20.83 | $1.60 | 0.50" ** | 0.375" ** | $8.06 | $0.63 | 8 ft | $28.96 | 0% | $0.00 |
RECOMMENDATIONS and INSTALLATION STEPS
RECOMMENDATIONS
SPEED BEAD can withstand extreme temperatures. Performs at – 40 to 212F degrees.
While the product has a great initial bond, the product will be fully set in 24 hours. Allowing the adhesive bead to be repositioned if necessary.
TOOLS RECOMMENDED
- Multi-purpose trim shears
- Tape measure
- Utility knife
- Isopropyl alcohol
- Wiping Cloth
INSTALLATION INSTRUCTIONS
CLEAN SURFACE
- Clean the surface with a wiping cloth and isopropyl alcohol to remove any dirt or soil that may be on the surface.
MEASURE AND CUT CASING BEAD
- Measure the vertical surfaces first and add an additional 3/8th inch overhang for each corner.
- Then, measure the horizontal surfaces and add 5/8″ inches to each side before cutting.
- Use multi-purpose trim shears to cut casing bead.
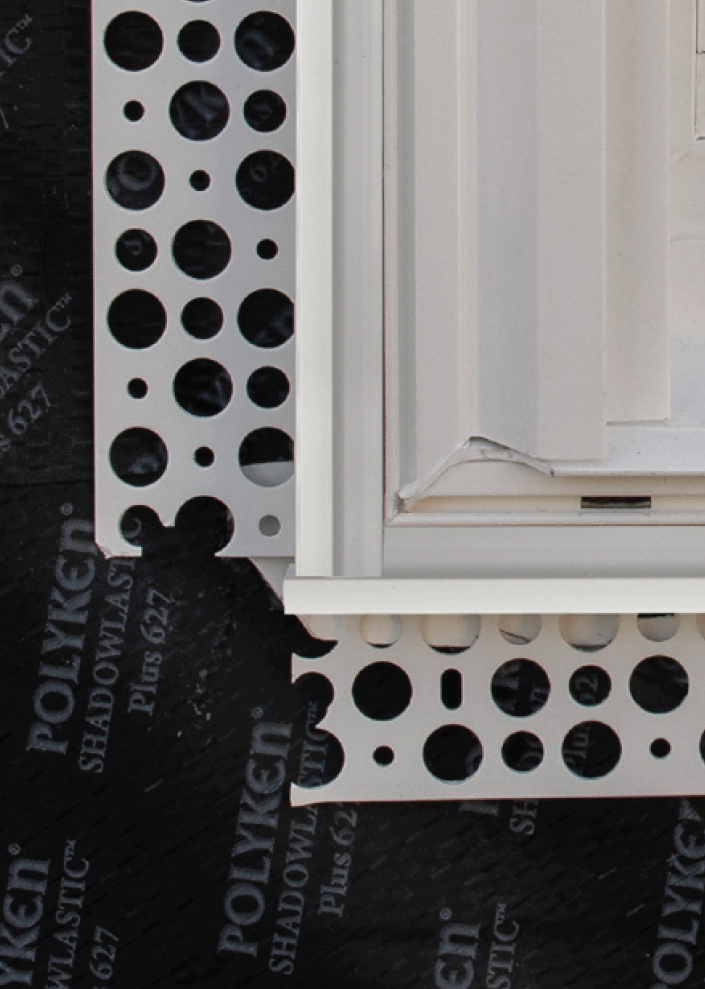
REMOVE NOTCH FROM HORIZONTAL CUT
- Carefully use a utility knife and notch out 5/8th inch of the flexible bulb.
- This will provide clearance for the vertical piece of casing bead.
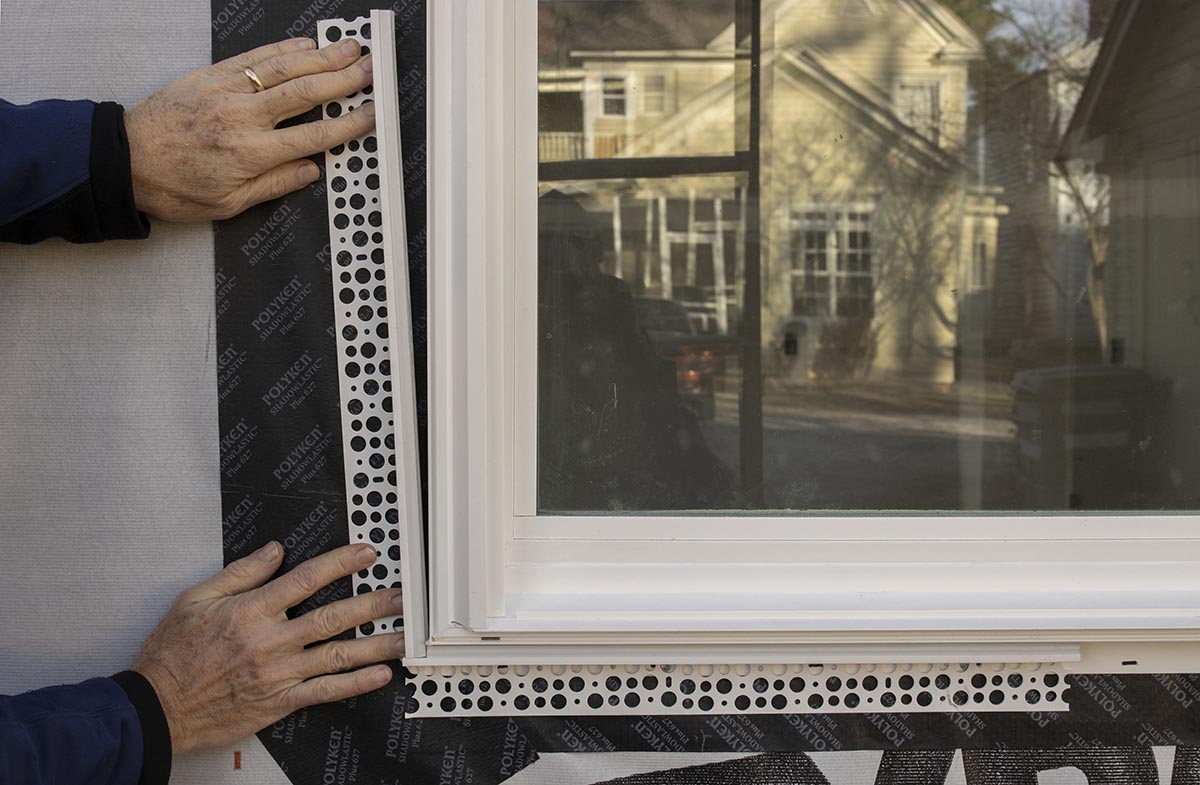
APPLY SPEED BEAD TO OPENING
- Peel off the protective tape covering the adhesive and apply the SPEED BEAD to the surface.
- We recommend starting at the bottom to make sure the casing bead is perfectly trimmed.
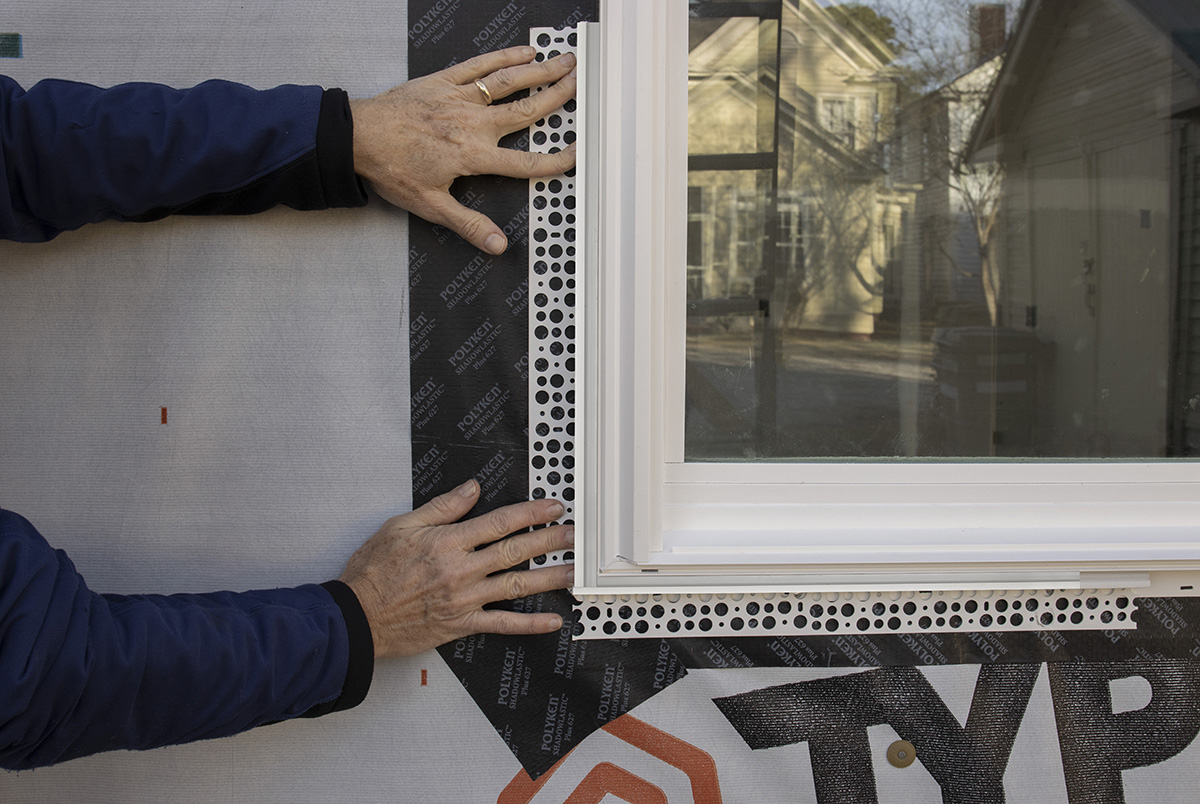
APPLY FIRM PRESSURE
- Align the casing bead in the proper position.
- Then firmly apply pressure and push into place for proper adhesion.
- Gently tug on the casing bead to make sure it has properly adhered.
CHECK FOR CORNER GAPS
- You will want to then check the corners for any gaps where water may enter.
- We recommend that you apply a small amount of approved sealant into each of the corner joints to ensure they are properly sealed.

SPEED BEAD TESTED & APPROVED
360º View
Test Procedure
Testing to the following requirements:
- ASTM E330/E330M-14 Standard Test Method for Structural Performance of Exterior Window, Doors, Skylights and Curtain Walls by Uniform Static Air Pressure Difference
- ASTM E331-00 (reapproved 2016) Standard Test Method for Water Penetration of Exterior Windows, Skylights, Doors, and Curtain Walls by Uniform Static Air Pressure Difference
- ASTM E283-04 (reapproved 2012) Standard Test Method for Determining Rate of Air Leakage Through Exterior Windows, Curtain Walls, and Doors Under Specified Pressure Differences cross the Specimen
Test Results
The AMICO SPEED BEAD product achieved passing results found on pages 3-4 of this test report when tested in accordance with the ASTM E330/E330M, ASTM E331 and ASTM E283.
SPEED BEAD INSTALLATION PHOTO GALLERY
click on images to enlarge

AMICO SPEED BEAD is featured in three colors; white, tan and gray to match window or door finishes.


